Supplies:
Card stock, scissors, adhesive, Timeless Rectangles Die.
Step 1:
Die cut two Timeless Rectangles shapes with solid card stock. Set aside for now
Step 2:
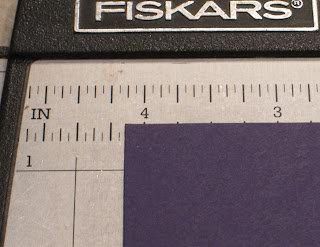
Let's work with the box base first. Cut a piece of card stock 5 3/4 in length x 4 inches width. Score a 3/4 border on each side and pre-fold score lines as shown.
Step 3:
Cut the tabs along the length side of the box base as shown. Add adhesive to each tab.
Step 4:
Adhere the tabs to the inside of the box base. Here you see one side complete. To the right is when all sides are adhered to form base
Step 5:
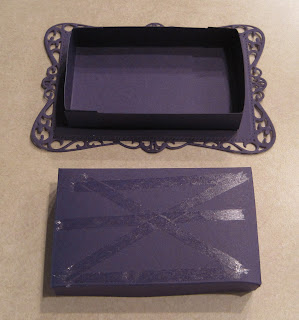
Turn box base over and add adhesive to the bottom as shown. Take one of the die cuts (face up, so its very pretty) and adhere your box to the center of the die cut as shown. Set aside for now.
Step 6:
Let's work with the lid. Cut a piece of card stock 5 7/8 inch length x 4 1/8 width. Score at 3/4 on each side and repeat steps 3 & 4 to form box lid.
Step 7:
Turn box lid over and add adhesive as shown. Now place lid on top of box. See next photo if needed
Step 8:
Decorate the second die cut if desired now before you adhere to the box lid. In the photo the lid is on the box base for ease of matching up the dies when adhering the lid. On the right you see how to line up the dies from the top. Adhere once lined up.
Step 9:
This is what your box should look like. Decorate as desired. My final box on the right is using Dynamic Duos Peonies and Tulips stamp set. Added a few jewels and voila! Enjoy!


No comments:
Post a Comment