Monday, September 12, 2016

Floral Birthday wishes


Good morning! This card has no stamping or coloring which means it came together rather quickly. Good thing too as I needed a quick birthday card.  ;-)  The beautiful papers and the birthday sentiment come from the Blushing Rose collection. Die cut using the matching Vintage Flourish Pattern Die. Die cut several Bitty Blossoms flowers in the white and soft pink cardstock. Added some pearls and sparkle to the flowers. Voila! Gotta love the printed papers. hee hee  Have a wonderful day! 

Sunday, September 11, 2016

Proud of my young men


    They looked thrilled with a picture from mom don't they. Well I took this after the game and they were very tired. I just wanted to say congrats Curtis and Nathan on starting your first Varsity football game. Curtis got an Interception and almost had a second. He had a rough patch and the opposing team took advantage of a starting freshman corner back. Nathan played most of the game as defensive end, and had a few reps on the offensive side of the ball as well.  
    They both played hard and we are very proud of the work they put in this summer to be ready to go.  While it didn't all turn out the way they hoped as they lost, they put in the effort and time, that is what matters. It was so exciting to see them out on the field! Go Patriots!  And I mean their school Patriots.  :-)  Have a wonderful day! 


Friday, September 9, 2016

Cheer somebody up

Happy Friday! Did you see the latest news over at Power Poppy? Check out our fun for September with the 
http://powerpoppy.blogspot.com/2016/09/power-sparklette-mini-challenge-week-1.html

Yes, we have a fun month for you! You can see all the details of our Power and Sparklette challenge on this post HERE. There is over 104 entries already and some are fantastic to read. So grab a cup and sit down so you can catch up before the next Power and Sparklette challenge posts. hee hee  


My creation today is using Aqua Markers. Oooohhhaaaahhhh. yea right! LOL  I am making another attempt at using watercolor of some sort and each time I always feel that I fail and do it wrong. Not that I don't like this card but it just seems like it isn't like other watercolor cards I see. If that makes any sense. I stamped this darling bloom from Prairie Cheer that I then colored with aqua markers. Using my water brush or whatever the thing is called I tried to blend the two colors on the petals a bit. Stamped the sentiment that I am coming to just LOVE in the left corner and added a few brads as accents. Voila! Be gentle in watercolor comments please.  ;-)  I am still trying. 

Be sure to check out the Bloom Brigades creations:
Allison Cope
Christine Okken
Cindy Lawrence
Julie Koerber


Wednesday, September 7, 2016

Sunflower Thank you

Good morning. Hopefully you week is going great so far. My creation today is using a new stamp to me called Sunflower Stem from Heartfelt creations. I ordered a few stamps and finally had a chance to ink and color one of them up. In looking at my stamps I have several sunflowers it looks like which is great. 


This is a very simple card with just a little bit of embellishments. My sunflower is colored with various Copic markers and a simple scored border around the edge. I layered some cardstock and designer paper from the stash with a pierced border around the edge. A layer or crochet ribbon and seam binding, then added my image panel. Tied some twine on a button for the corner and added some sparkle. Voila! Have a fabulous day! 


Monday, September 5, 2016

Time to chill

Good morning! This months Dirty Dozen Christmas challenge is a fun color challenge. Hopefully you can play along this month and get more of those Christmas cards done. Find the post and linking your creations up HERE. 


What a fun snowman image, right?!? This is Just Chillin from Sassy Cheryl's. I colored him with various Copic markers and added some sparkle. Layered onto some gray colored designer paper and silver sequins for accents. Easy Peasy! Have a fabulous day! 


Saturday, September 3, 2016

Kitchen Part 1

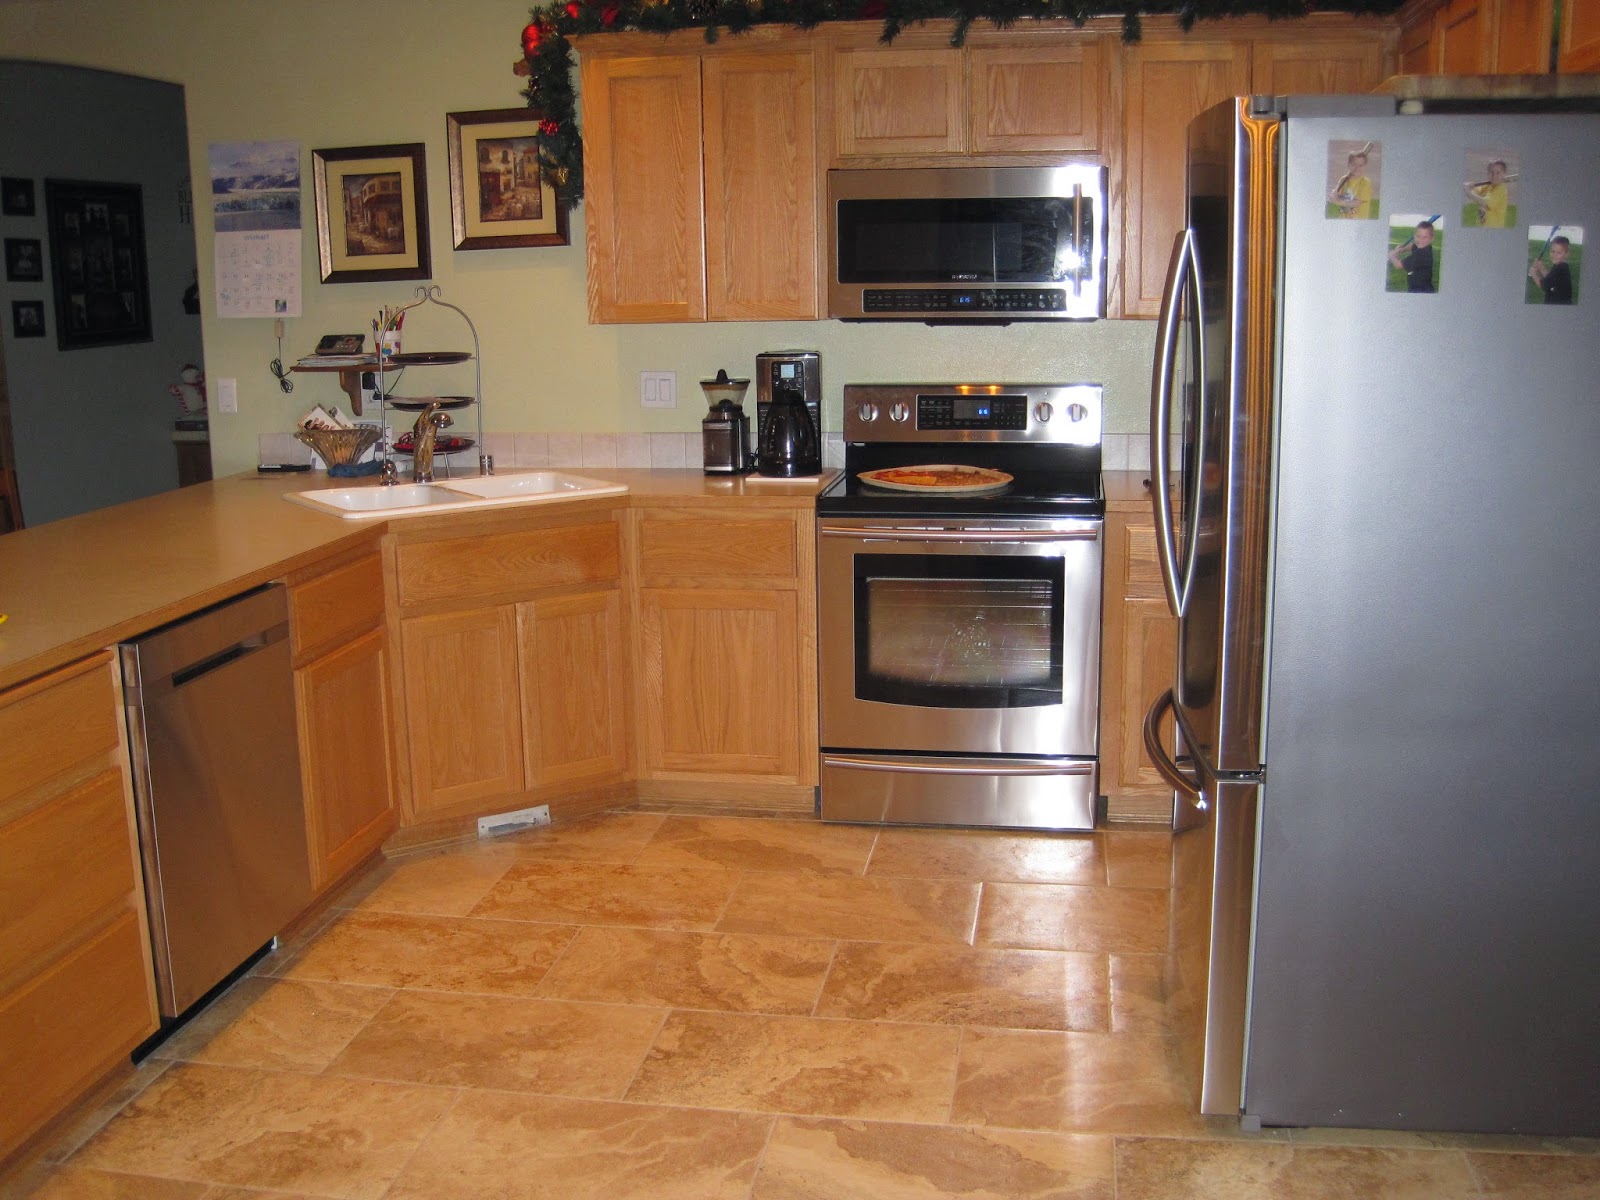
Good morning! The past two weeks have been quite busy with the first part of our kitchen project that we are under taking. I promised I would share some pictures of our project with you. Some of you may remember summer of 2014 the renovation part of our home we started. We also changed some room placements around when we installed new carpet in the house and added a bunch of tile. You can see the changes under the Renovation tab along the side bar. We built this house 13 years ago, it was very exciting and planned to only stay about 10 years. Being that we decided to stay longer we knew a few improvements would need to be done. Our microwave started the change for us by chance when it died on us and we were forced (hee hee) to get new appliances last year for Christmas. I went from white to the beautiful new stainless steel designs. Below is a picture of the appliances with the new tile. 


The cabinets are beautiful and we really do like them as they are solid oak and in great condition but need a fresh new look. They sure did get a fresh new look.... check it out. 


Gaps right! You wouldn't believe the difference this is in real life to the kitchen. Here is a picture of your first glance into the kitchen from the living room. The tile now looks so different. We had to take all the doors off and drawers out and sand them completely down in the garage. The inside we had to take everything out of the cabinets so we could sand down the base of the cabinets. What a mess! A fine layer of dust was everywhere but worth the trouble now. 


This is a view from the side of the dining room. All the base under the bar had to be done as well and what an area that is to sand. My shoulders and arms are sore after this little project. The bar stools my in laws gave us at Christmas and they inspired out color choice. Did you know that when you add a clear Polyurathane or whatever it was called layer onto a stain you actually sand it off a little and layer it on again? Not knowing what we were doing we watched several videos on Gel Staining and clear coating for this project. One of the biggest things we learned is when they suggest an even temp of 70 degree they mean just that. Our garage was about 90-95 which means your margin of error is a LOT smaller. ha!  But we worked with it and it turned out fine after the "tester" door. 
Over all it is complete and we now have the fun of picking out our new counter top, back splash, faucet and sink. Oh the joys.... ;-)  Thanks for stopping by and seeing our latest home update. Have a fabulous weekend! 


Friday, September 2, 2016

Feeling fall weather

Good morning and yes, it has been a week since I last posted I know. We have been doing a project in our kitchen that I will share photo's with you once we are finished. Stamping time has been limited due to that project as well as the kids went back to school. Right now we have some beautiful fall weather so Feeling Fall was the perfect stamp for today's post. 


First I stamped the leaves along the left side of the panel. Then stamped a few remaining ones onto scratch paper so that I was able to cut them out and pop them up. I then added some gold edges with the Kyron gold pen that my sweet friend Katie sent me awhile back. Added a few pearls and voila! Easy Peasy! 

Check out the Bloom Brigades creations: 
Christine Okken 
Cindy Lawrence 
Julie Koerber
Katie Sims