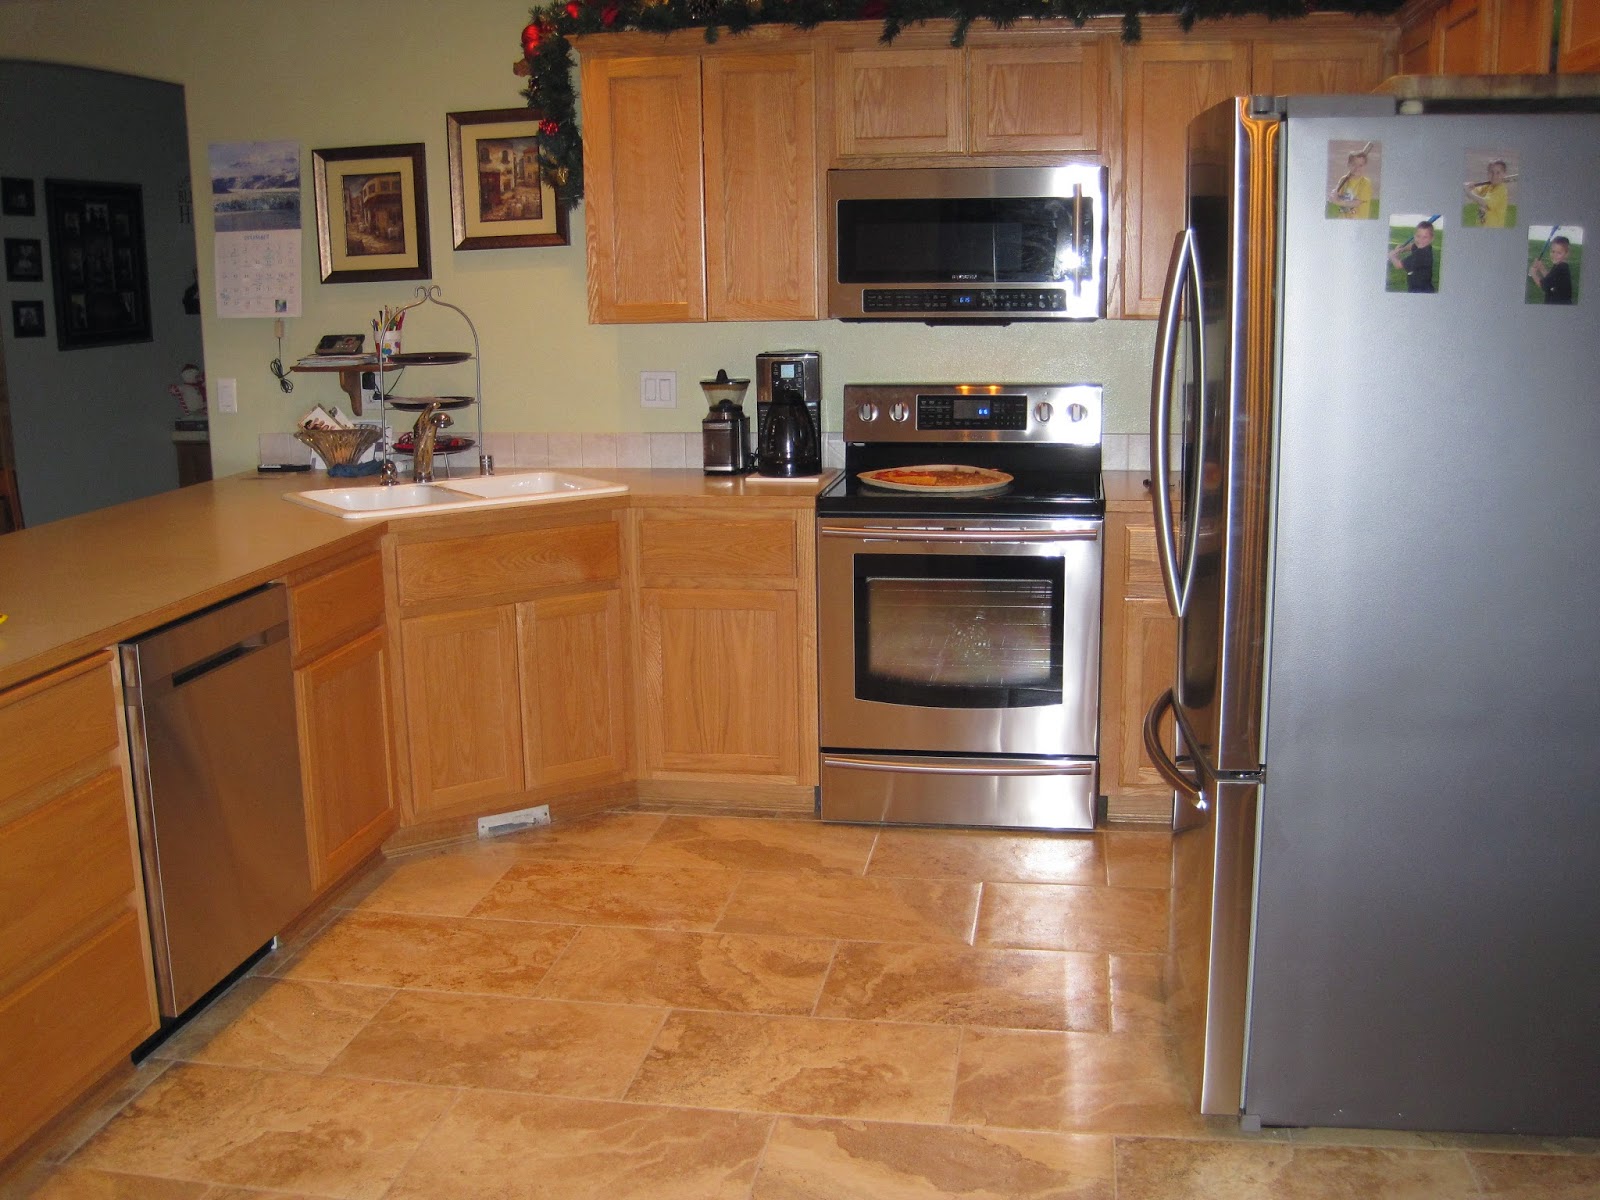
Good morning! The past two weeks have been quite busy with the first part of our kitchen project that we are under taking. I promised I would share some pictures of our project with you. Some of you may remember summer of 2014 the renovation part of our home we started. We also changed some room placements around when we installed new carpet in the house and added a bunch of tile. You can see the changes under the Renovation tab along the side bar. We built this house 13 years ago, it was very exciting and planned to only stay about 10 years. Being that we decided to stay longer we knew a few improvements would need to be done. Our microwave started the change for us by chance when it died on us and we were forced (hee hee) to get new appliances last year for Christmas. I went from white to the beautiful new stainless steel designs. Below is a picture of the appliances with the new tile.
The cabinets are beautiful and we really do like them as they are solid oak and in great condition but need a fresh new look. They sure did get a fresh new look.... check it out.

Gaps right! You wouldn't believe the difference this is in real life to the kitchen. Here is a picture of your first glance into the kitchen from the living room. The tile now looks so different. We had to take all the doors off and drawers out and sand them completely down in the garage. The inside we had to take everything out of the cabinets so we could sand down the base of the cabinets. What a mess! A fine layer of dust was everywhere but worth the trouble now.

This is a view from the side of the dining room. All the base under the bar had to be done as well and what an area that is to sand. My shoulders and arms are sore after this little project. The bar stools my in laws gave us at Christmas and they inspired out color choice. Did you know that when you add a clear Polyurathane or whatever it was called layer onto a stain you actually sand it off a little and layer it on again? Not knowing what we were doing we watched several videos on Gel Staining and clear coating for this project. One of the biggest things we learned is when they suggest an even temp of 70 degree they mean just that. Our garage was about 90-95 which means your margin of error is a LOT smaller. ha! But we worked with it and it turned out fine after the "tester" door.
Over all it is complete and we now have the fun of picking out our new counter top, back splash, faucet and sink. Oh the joys.... ;-) Thanks for stopping by and seeing our latest home update. Have a fabulous weekend!

6 comments:
looks awesome Stacey...congrats and hats off to you guys...that is a ton of work!
sparkle & shine, kindness *~*
It looks beautiful, Stacy! The cabinets and floor really set each other off with the contrast. Love that! Your home floor plan looks like a good use of space. I'm glad now that we never moved to a larger house. Who did I think was going to clean it? Tee hee! Lots of work there and great job!!
Well done! Looks great! Hard work paid off :)
Beautiful results, Stace!! You guys have worked so hard, and what a fabulous new look you have. Tres chic!
I have the yellow oak cabinets and I am so over them, but I don't think I have the ambition to tackle refinishing them.
Your turned out just awesome.
The kitchen makeover is beautiful! Love the elegance of the dark cabinets! Way to go fo you two and all the muscle you put into it! :)
Post a Comment