
Supplies:
Designer paper (12 x 12), scoring tool, adhesive or regular tape, ribbon and embellishments desired

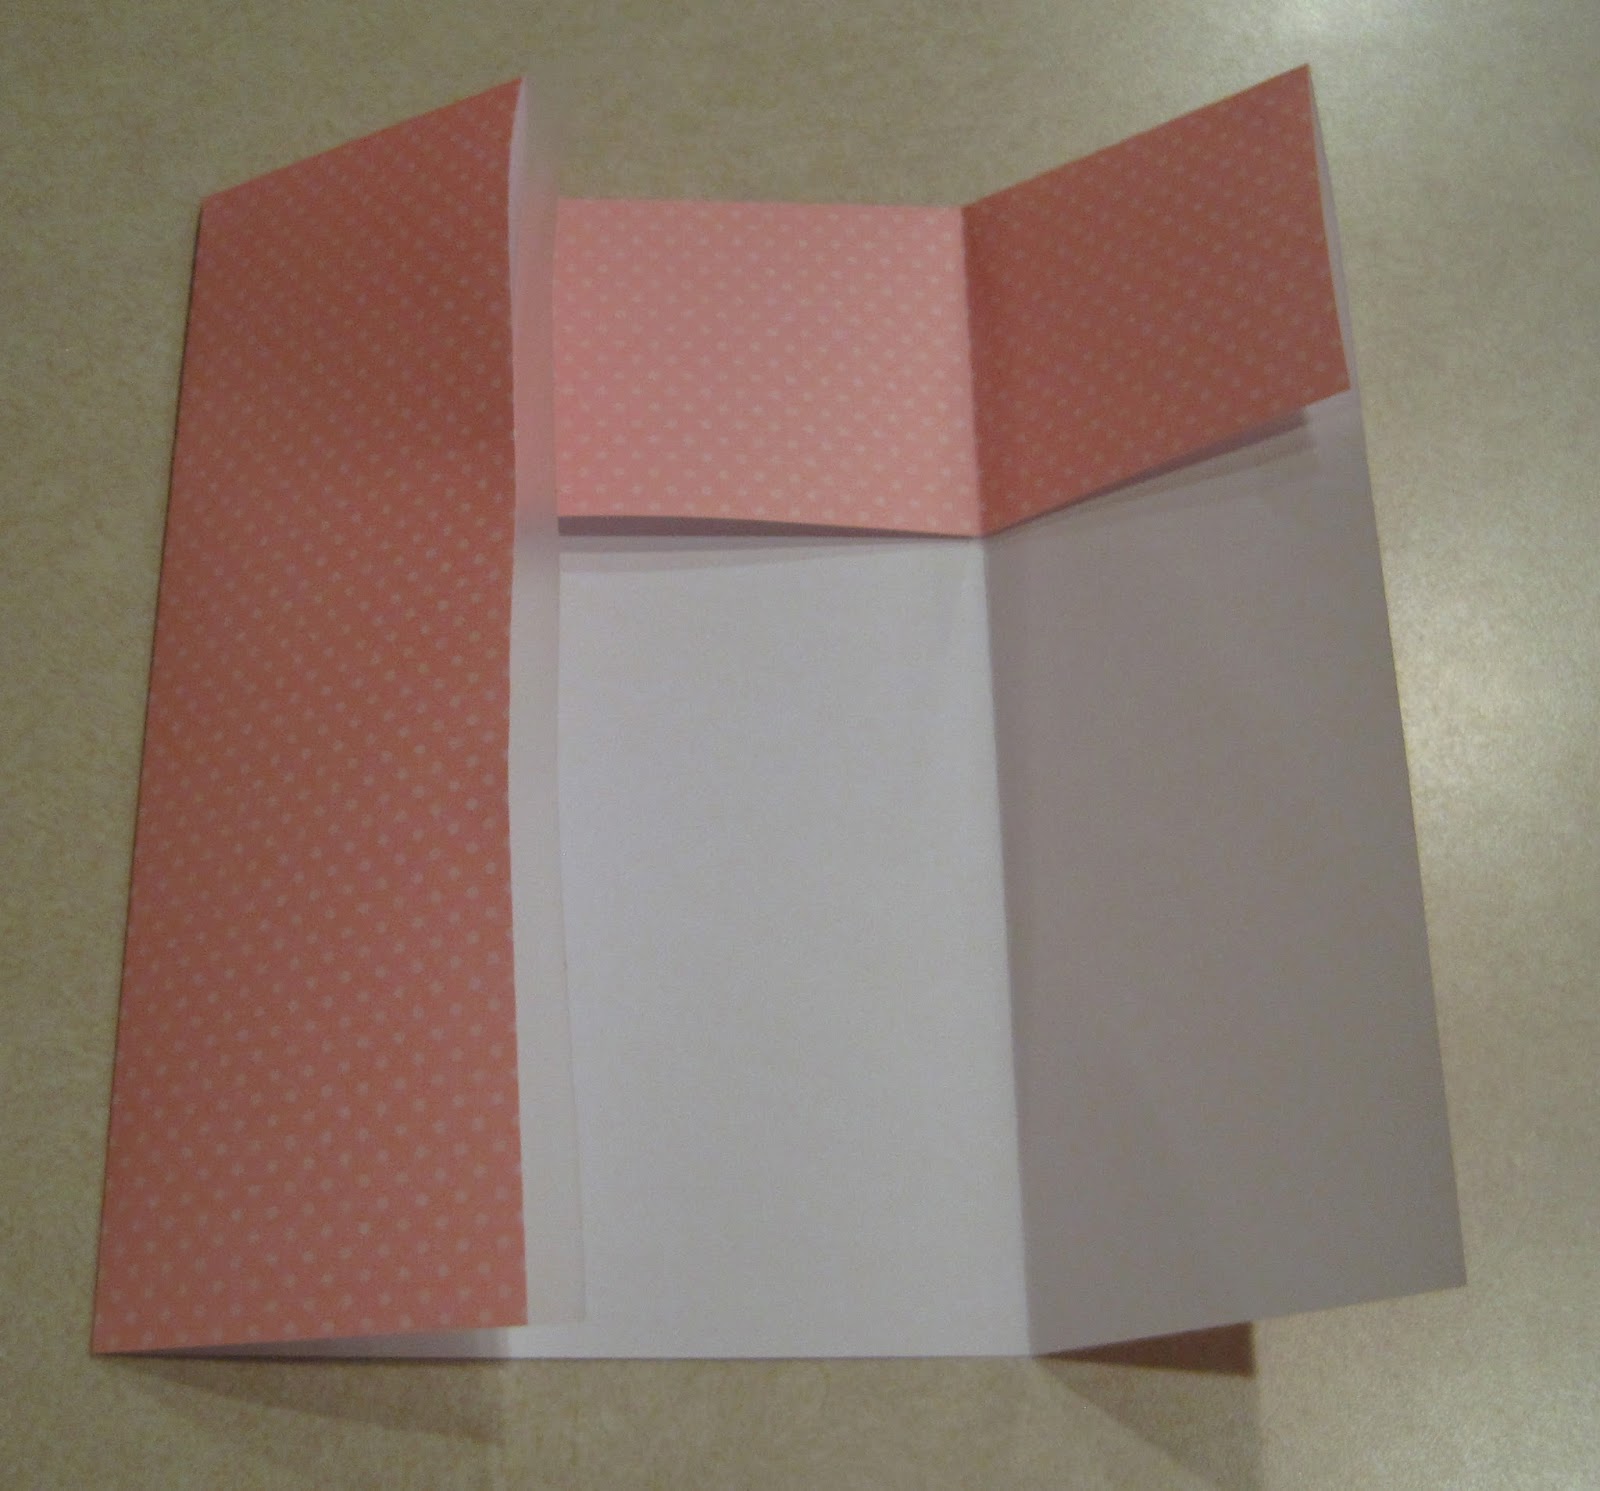
Step 1:
Score paper at 3 inch from the top and fold over as shown. Turn and place the fold at the top. Score at 3 inches from the left and 3 inches from the right. Fold both edges to meet in the middle as shown on the right. You have two options here. You can choose to do as I have and use the regular tape and place it on the underside edge of the seam so that the tape is hidden from the outside. Or you can just tape all the way down the seam from the outside. Below you will see that I have a hidden seam, but just at the top you will see the outside where I added extra tape. You won't see that as it will turn into the bottom soon.


Step 2:
Once you have taped the seam score at 3 inches from the bottom. Note this is the end that is open


Step 3:
Open the end like shown (alligator mouth) just to the fold mark. Crease and fold down to create triangle on the right.


Step 4:
Pre-fold both ends towards the middle. Add adhesive to both triangles and adhere. On the left I have one already adhered, on the right is what they will look like when complete
Step 5:
Unfold and form paper bag shape. You will want to work the sides and the crease to make it as wide as you would like. You have lots of options for the closure from buttons, ribbons, velcro you decide. Decorate as desired

Step 6:
This is a sweet bag for one of the boys teachers. I used a retired stamp that is layered on ODBD Ornate Hearts Die. Added some sparkles and sequins. Enjoy!

No comments:
Post a Comment