
Supplies:
Cardstock, scissors, adhesive, desired dies (shown ODBD Hearts) scoring tool and cutting mat

Step 1:
Cut a piece of cardstock 9 inch length x 7 inch width. Save the strip that is left over from cutting and set aside. Score a 1 inch border on all four sides. Snip ends as shown to form box base. Add adhesive and fold in to form base.

Step 2
Using the strip we set aside, score at 2 3/16, 3 3/16, 8 1/4 and 9 1/4. Cut a smaller piece of the same card stock 1 1/2 inch x 4 1/2 inch.
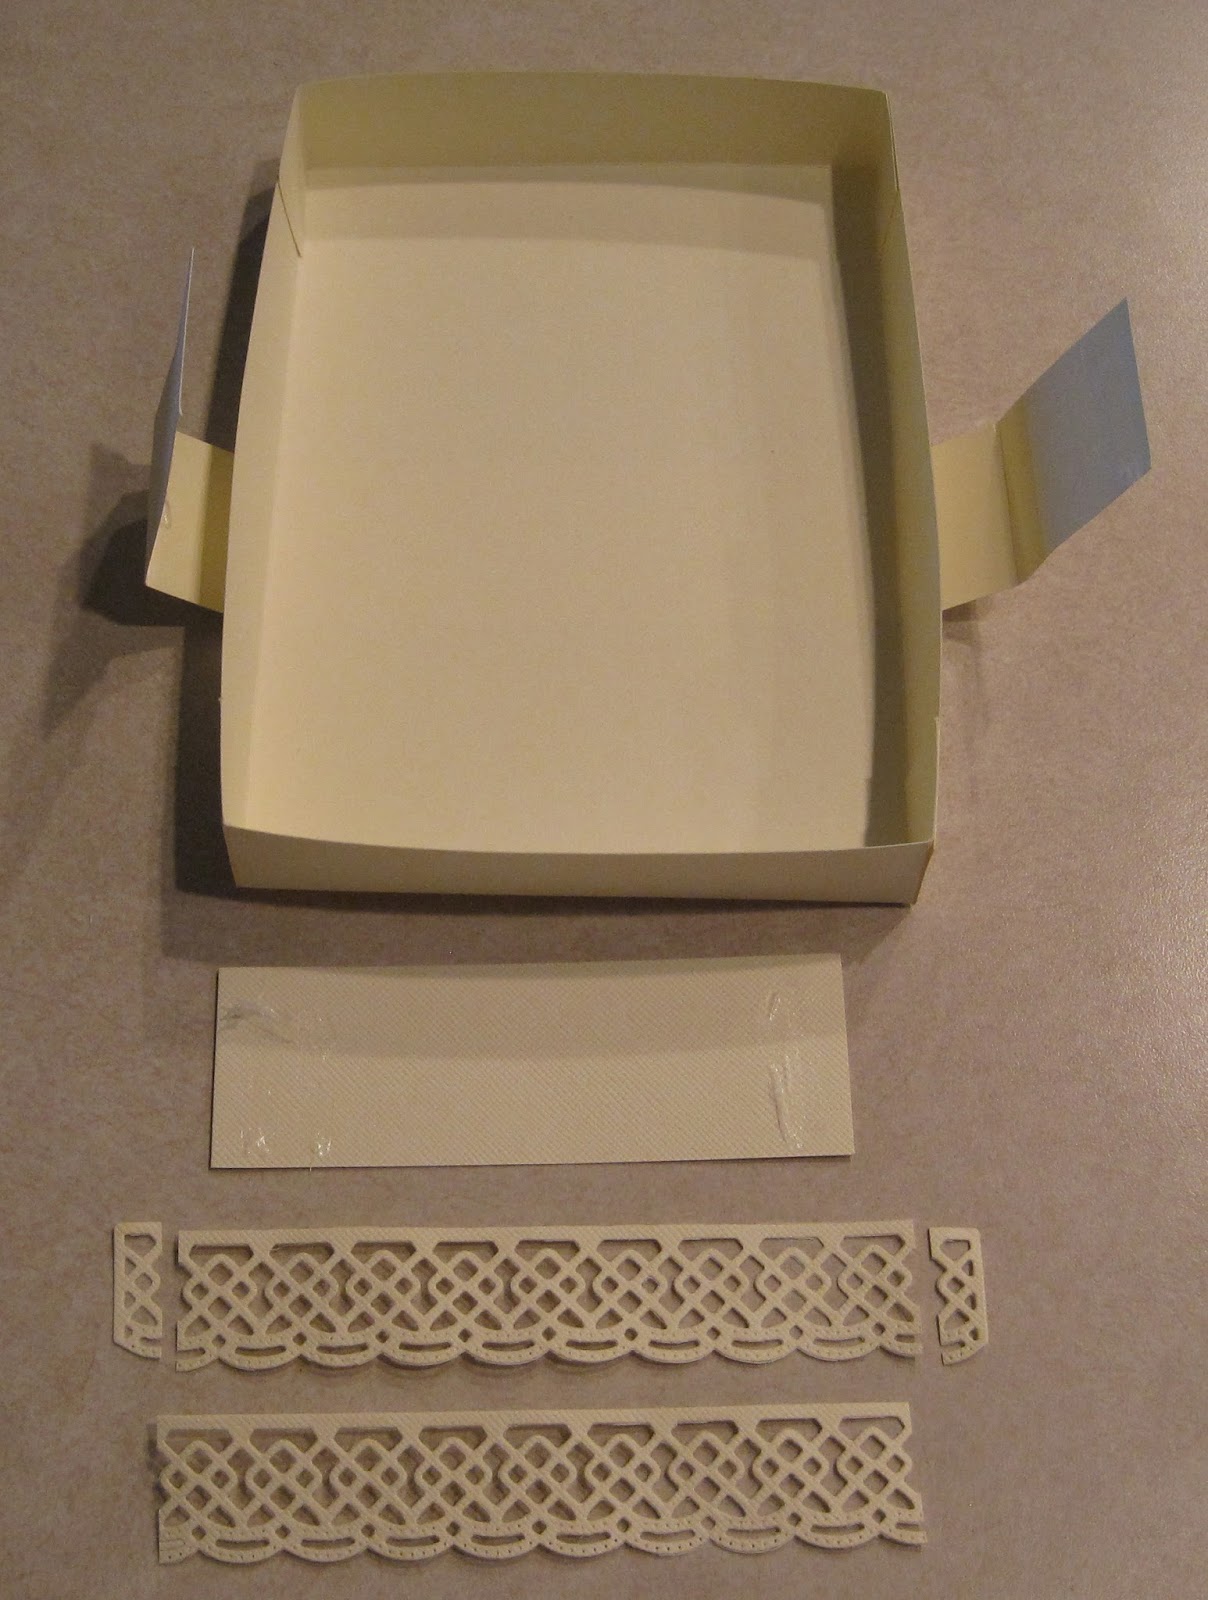

Step 3:
Pre-fold scored lines and place the box in the middle. Add adhesive to the ends of smaller piece of cardstock and the back side of the longer piece at the ends. This is where you will adhere (If adding a scallop edge) You will need to snip the ends on the die cuts. I left the "snipped ends" in the picture, to see where to cut. Adhere both scallops as shown in middle. Add the smaller piece to the back of the two scallop die pieces. This helps sturdy the wrap for the box and cover the edges. Adhere the other side and secure


Step 4:
Now that you have secured the wrap for the box die cut desired dies. You will be covering the center panel so no need to worry

Step 5:
Adhere the heart to the center and now you can finish decorating.


Step 6:
My final card box using Forget Me Not Hearts. This would make a great wedding gift with some thank you notes inside I think. I inserted a textured cut base to the inside of the box behind the envelope. Added a few pearls and some sparkle. Enjoy!

No comments:
Post a Comment